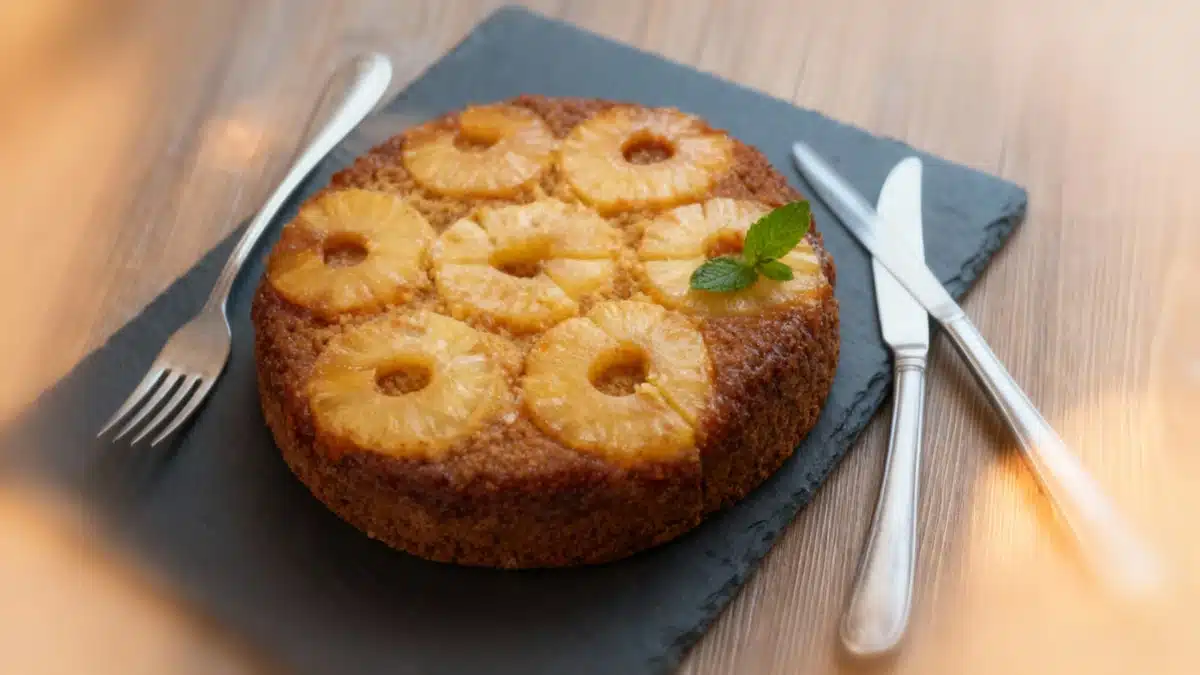
Let’s admit it: few desserts have the nostalgia power of a pineapple upside-down cake. One whiff and suddenly you’re a kid again, cheekily eyeing the sticky topping, hoping for the juiciest slice. But why do so many home bakers fall victim to gooey disasters and fruit migration? And, more importantly, how can you get that glorious finish every single time? Read on for your golden ticket to upside-down cake greatness—no more crumbling under pressure!
The Basic Principle: Channeling Tarte Tatin, With a Tropical Twist
Upside-down cake isn’t just a treat for the taste buds—it’s a real scene-stealer for dessert hour or afternoon snack. The concept is delightfully simple (and forgiving for the accident-prone among us): you begin much like the famed tarte Tatin, but swap apples for pineapple, or any fruit you love.
- Lay sliced fruit at the bottom of a cake pan.
- Sprinkle a bit of sugar over the fruit for that caramelized edge.
- Pour your cake batter over this fruity base—easy does it.
Now, your job is to pop it in the oven, unmold while still warm, and bask in the glory of a vibrantly beautiful cake. And yes, it looks as good as it tastes.
No Oven? No Problem: The Skillet Solution
Fast, relatively easy to whip up, and not even a proper oven is required! Upside-down cake can be conquered right on your stovetop. Perfect for apartment dwellers or anyone whose oven is on the fritz (or currently storing shoes). The method simply flips the steps:
- Pour cake batter into an oiled skillet first.
- Add your sliced fruit on top.
Give it 20 minutes to cook one side, then flip (with confidence!), and cook for another 10 minutes. Magic, minus the bake-off panic.
Fruity Freedom: Filling Options for the Seasons
Here’s where you get to play artist. The upside-down cake isn’t pineapple-exclusive. Choose from:
- Apples
- Pears
- Peaches
- Oranges
- Pineapple (fresh or canned—no fruit discrimination here)
- Kiwis
As seasons shift and inspiration strikes, your cake can always join the party. It’s generally enjoyed warm (because, honestly, who can wait?), and pairing it with a scoop of vanilla ice cream is highly recommended for that full nostalgic effect.
Caramel: The Secret Sauce for Success
That dazzling glossy finish? All about the caramel layer. For a perfectly caramelized upside-down cake, you’ve got two tempting routes:
- Scatter a little sugar straight onto the bottom of your pan before adding the fruit.
- Or, go big: make a caramel separately. Melt 125g sugar with 3 tablespoons of water over medium heat in a pan, stir gently, and once golden, pour it into your cake pan.
Once your caramel is in, arrange fruit slices neatly—if you’re using fresh pineapple, be sure to remove the fibrous core—then pour the batter and delicately spread it using a spatula or the back of a spoon. Don’t go shifting those fruits unless you like abstract art by accident.
But here’s the real plot twist: unmolding. This is where even the bravest crumble. Be sure to butter or oil your pan thoroughly before you get started. If you’re looking for extra security (we all have our baking insecurities), a springform pan will make unmolding a breeze. The final tip: always unmold the cake while it’s still warm, not piping hot, but not cool either. This way, you avoid sticking disasters and achieve that glorious reveal every time.
In conclusion, mastering the pineapple upside-down cake—or any of its fruity cousins—is less about secret family recipes and more about simple, reliable steps. Think upside-down, act right-side-up, and watch as your creation wows every guest. And if you want applause to last longer, don’t forget the scoop of vanilla on the side!

John is a curious mind who loves to write about diverse topics. Passionate about sharing his thoughts and perspectives, he enjoys sparking conversations and encouraging discovery. For him, every subject is an invitation to discuss and learn.


